

Today we are going to Add Google Analytics to a Next.js 13 app. Level up your Next.js 13 app instantly! Discover the game-changing power of Google Analytics integration with the new App directory.
First, you need a Google Tracking ID :
Get your tracking ID
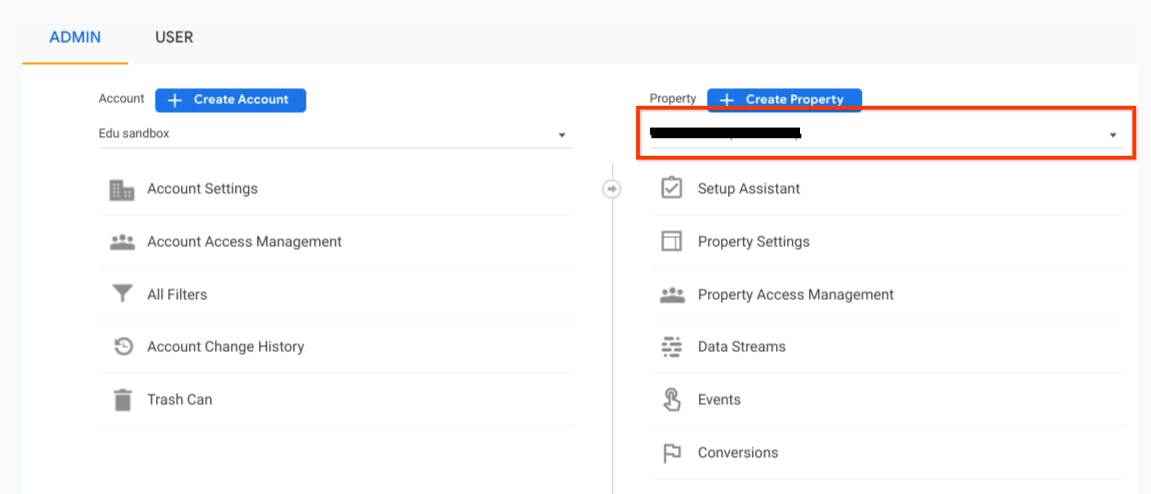
Sign in to your Google Analytics account.
Click Admin.
At the top of the Property column, select your property.
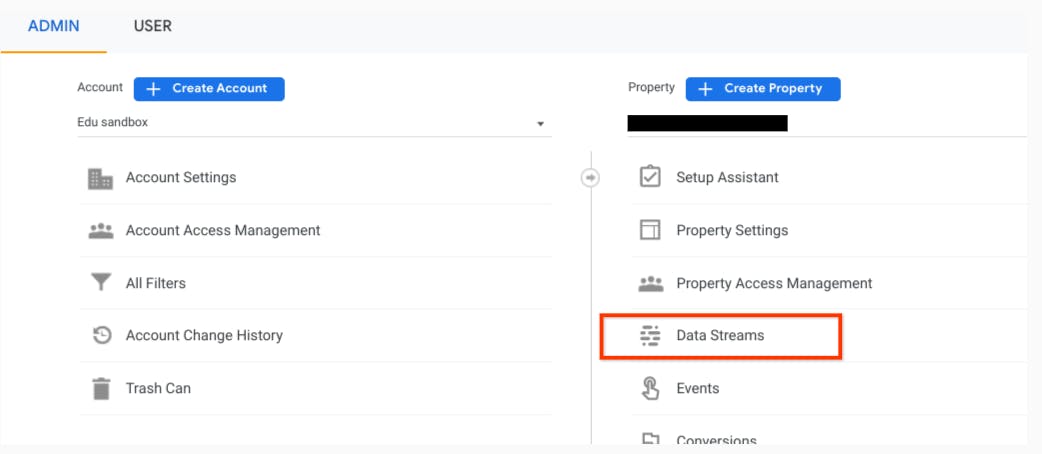
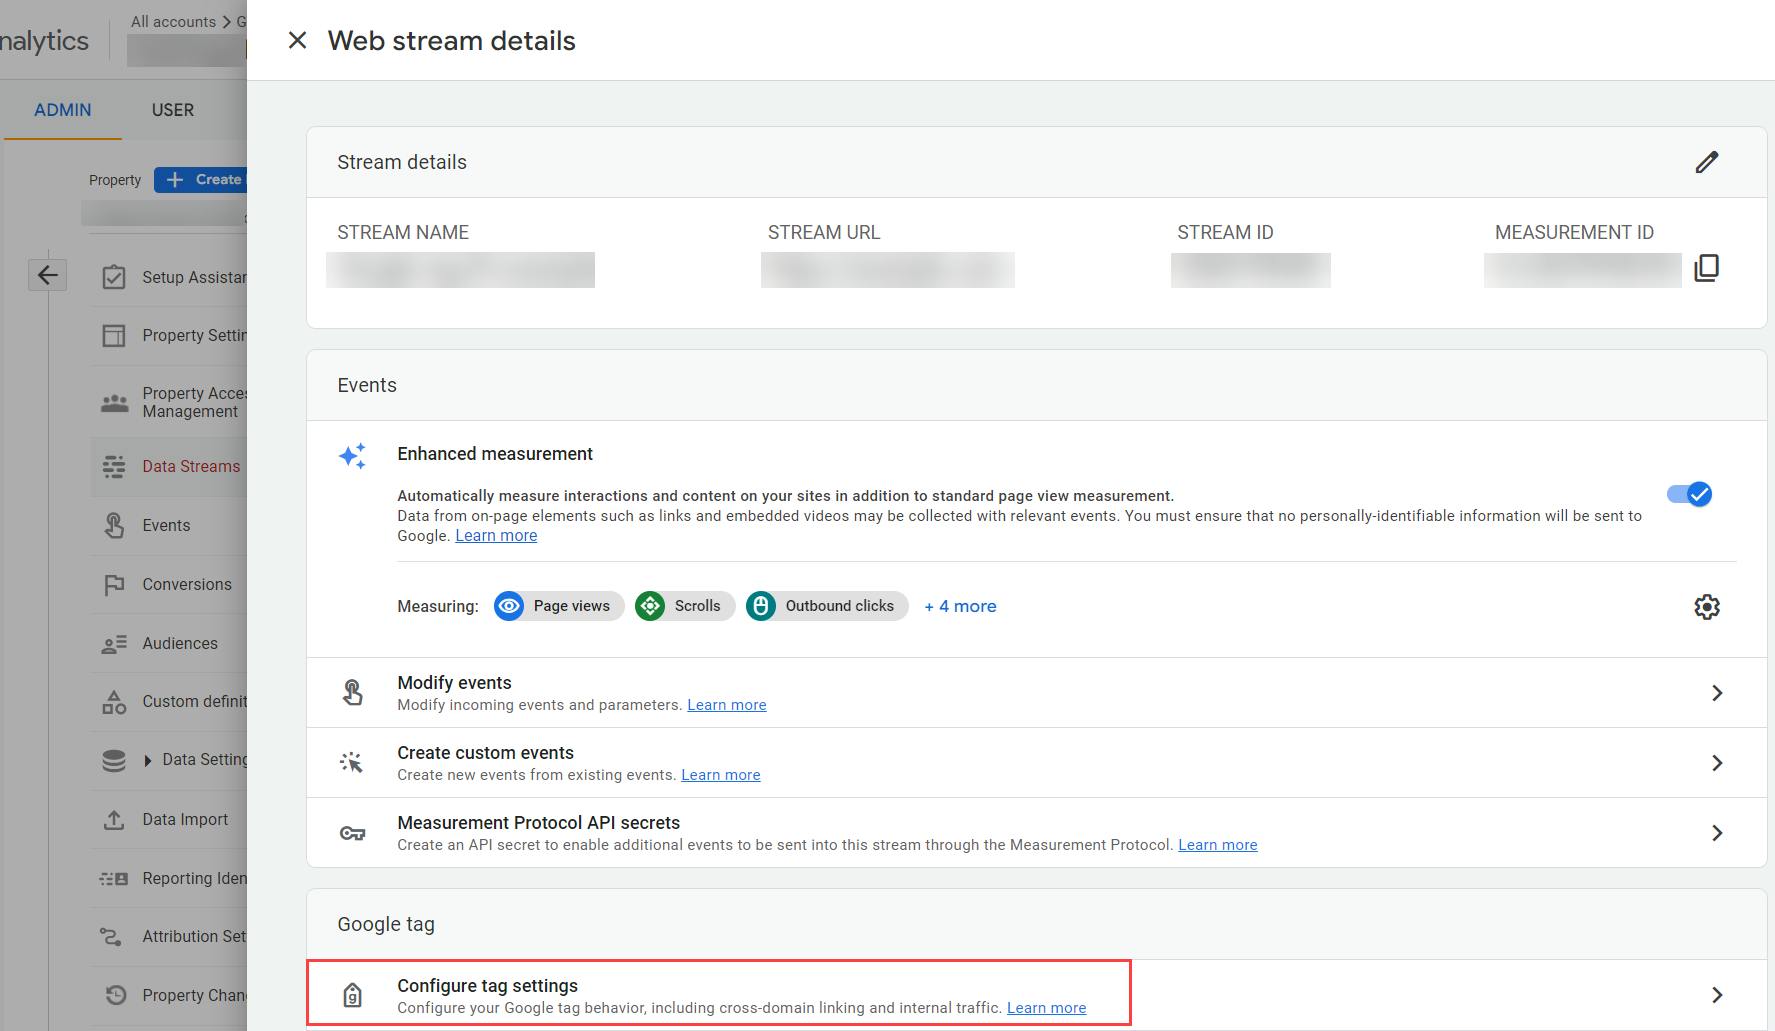
In the Property column, click Data Streams.
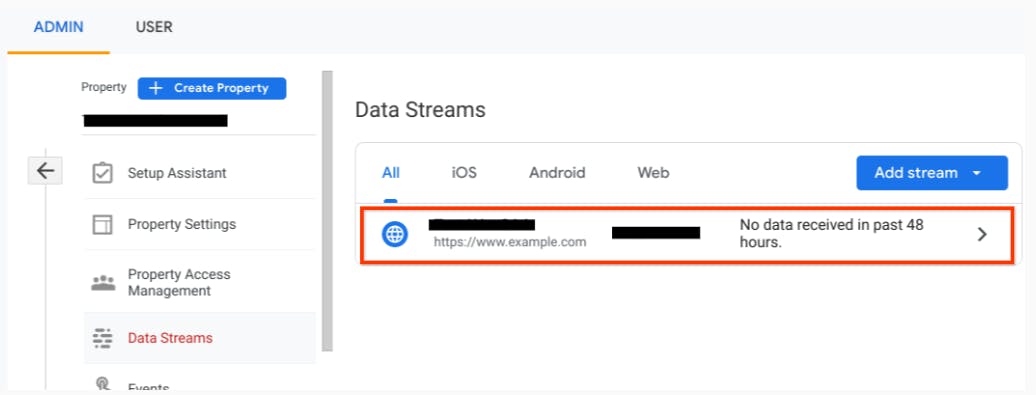
Click the data stream.
In the Google tag section at the bottom of the Web stream details page, click Configure tag settings.
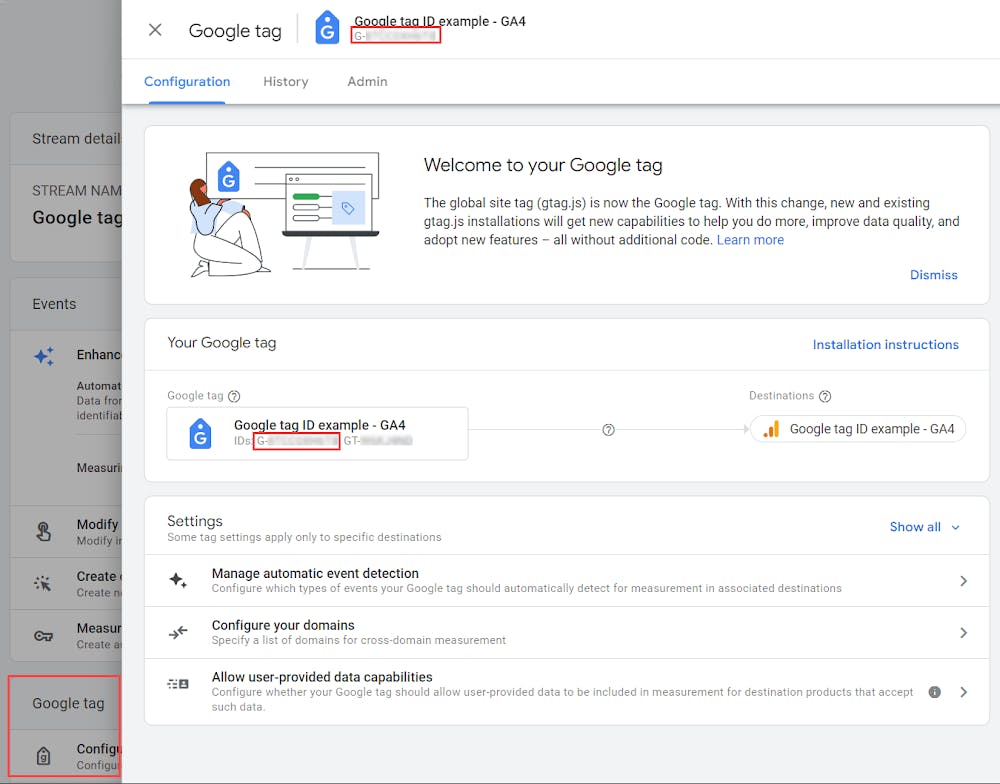
In the Your Google tag section on the Google tag page, copy the ID that starts with "G-" or "AW-".
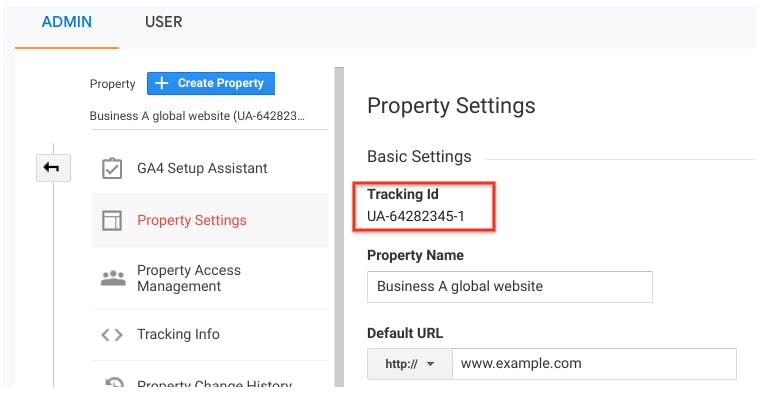
Find your "UA-" ID
Only Universal Analytics properties have a "UA-" ID.
Click Admin in your Universal Analytics property.
In the Property column, click Property Settings.
Your "UA-" ID appears at the top of the Property Settings page.
Now you can use the Google Tracking ID in the Next.js App
Let's create a component to house the tag ID. Feel free to choose any name you prefer. For instance, I named mine GoogleAnalytics.tsx To ensure it functions as a client component, add "use client" at the top. Here's an example of the component:
// GoogleAnalytics.tsx
"use client";
import Script from "next/script";

const GoogleAnalytics = ({
  GA_TRACKING_ID,
}: {
  GA_TRACKING_ID: string | undefined;
}) => {
  return (
    <>
      <Script
        src={`https://www.googletagmanager.com/gtag/js?id=${GA_TRACKING_ID}`}
        strategy="afterInteractive"
      />
      <Script id="google-analytics" strategy="afterInteractive">
        {`
        window.dataLayer = window.dataLayer || [];
          function gtag(){dataLayer.push(arguments);}
          gtag('js', new Date());

          gtag('config', '${GA_TRACKING_ID}');
        `}
      </Script>
    </>
  );
};

export default GoogleAnalytics;
Don't forget to wrap the ${GA_TRACKING_ID} with quotes, or you might encounter issues.
Next, let's create a .env file and add the Google tracking ID to it. Simply name the variable GA_TRACKING_ID and paste the tracking ID value into the file.
GA_TRACKING_ID=UA-64282345-1
Now we can add our GoogleAnalytics.tsx component to our layout.tsx in our App directory.
// layout.tsx
import GoogleAnalytics from "@/components/GoogleAnalytics";

export default function RootLayout({
  children,
}: {
  children: React.ReactNode;
}) {
  return (
    <html lang="en">
      <GoogleAnalytics GA_TRACKING_ID={process.env.GA_TRACKING_ID} />
      <body>
          {children}
      </body>
    </html>
  );
}
In case you encounter difficulty importing it using from "@/components/GoogleAnalytics", you can resolve this by adding the paths property to your tsconfig.json file,
  "paths": {
      "@/components/*": ["./components/*"]
    }
That's it!
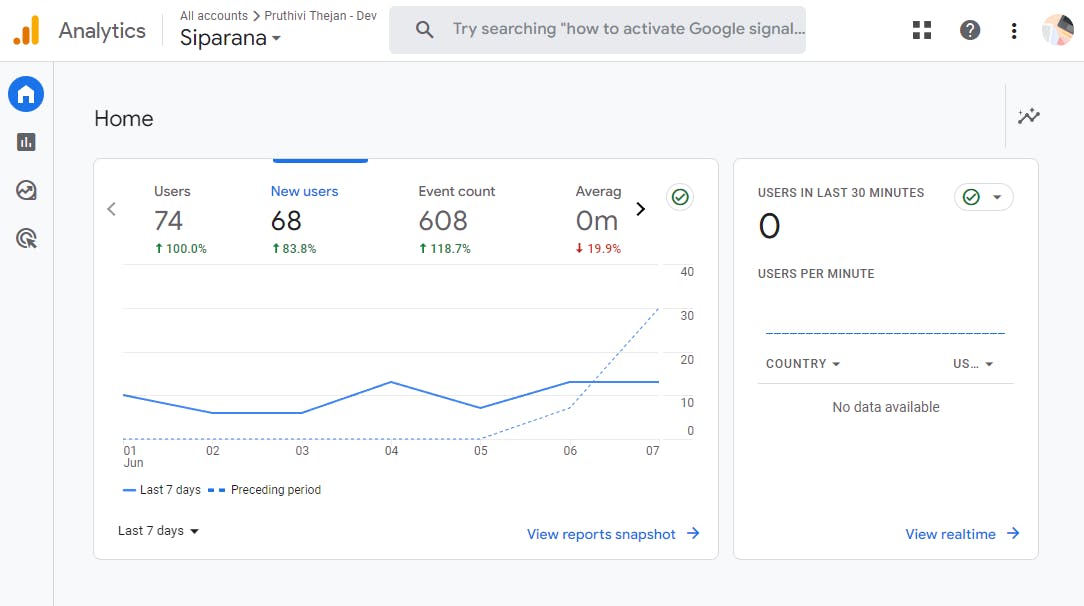
Once you deploy your app, you'll be able to witness the magic of Analytics unfold right in your dashboard. Prepare to unlock valuable insights like never before!